Introduction:
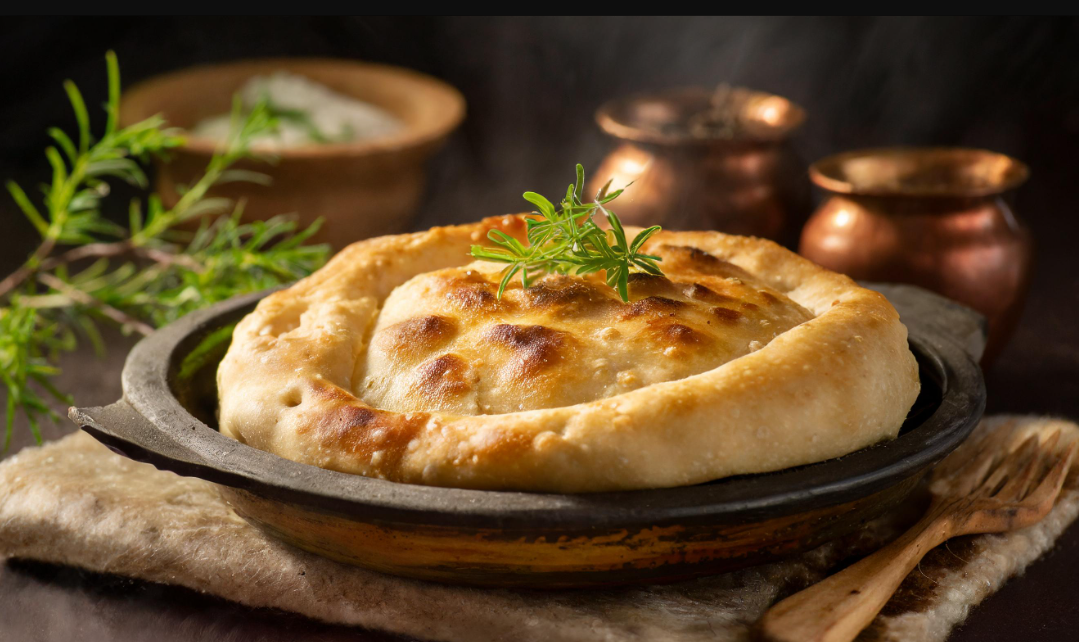
kulcha recipe, a classic North Indian flatbread, is known for its soft and fluffy texture and delicious flavor. kulcha recipe is a flexible bread that can enrich any meal, whether served alongside rich and flavorful curries or eaten on its own with a splash of butter. In this post, we’ll go over how to make true kulcha recipe at home, helping you through each step to create a tasty and satisfying bread that will please your taste buds.
Ingredients for Kulcha Recipe:
For the Kulcha Dough:
2 cups all-purpose flour (maida)
1/2 teaspoon salt
1 teaspoon sugar
1 teaspoon baking powder
1/2 cup yogurt (curd)
2 tablespoons oil or melted butter
Water, as needed
For Stuffing (Optional):
1/2 cup finely chopped onions
2-3 green chilies, finely chopped
2 tablespoons fresh coriander leaves, chopped
1 teaspoon chaat masala
1/2 teaspoon cumin seeds
Salt, to taste
For Garnish:
Fresh coriander leaves, chopped
Nigella seeds (kalonji) or sesame seeds
For Serving:
Butter, for brushing
Step-by-Step Kulcha Recipe:
Step 1: Prepare the Kulcha Dough:
In a large mixing basin, whisk together all-purpose flour, salt, sugar, and baking powder. Mix thoroughly to combine the dry ingredients.
Add the yogurt and oil (or melted butter) to the flour mixture. Combine with your fingertips until the mixture resembles coarse crumbs.
Knead in the water gradually, a bit at a time, until the dough is soft and smooth. The dough should be slightly sticky but pliable. Cover the dough and let it to rest for 1-2 hours.
Step 2: Prepare the Stuffing (Optional):
In a separate bowl, combine the finely sliced onions, green chilies, fresh coriander leaves, chaat masala, cumin seeds, and salt to taste. This stuffing adds taste to the kulcha, but it is optional.
Step 3: Divide and Shape the Dough:
After resting, divide the dough into equal-sized balls based on the size of your kulchas.
If using the stuffing, slightly flatten each dough ball and insert a tablespoon of the onion mixture in the center. Enclose the stuffing and shape the dough back into a neat ball.
Step 4: Roll Out the Kulchas:
Dust a rolling surface with flour and flatten a dough ball between your palms.
Roll out the dough ball with a rolling pin into a 1/4-inch-thick circle. To create a consistent kulcha, make sure the edges are slightly thicker than the middle.
Step 5: Cook the Kulchas:
Preheat a tava or griddle to medium heat. Once hot, carefully place the rolled-out kulcha on the tava.
Cook the kulcha for 1-2 minutes on one side, or until bubbles form on the surface.
Flip the kulcha and heat for a further 1-2 minutes, or until golden brown spots form and the kulcha is fully cooked.
If desired, brush the cooked kulcha with butter to enhance flavor and richness.
Step 6: Garnish and Serve:
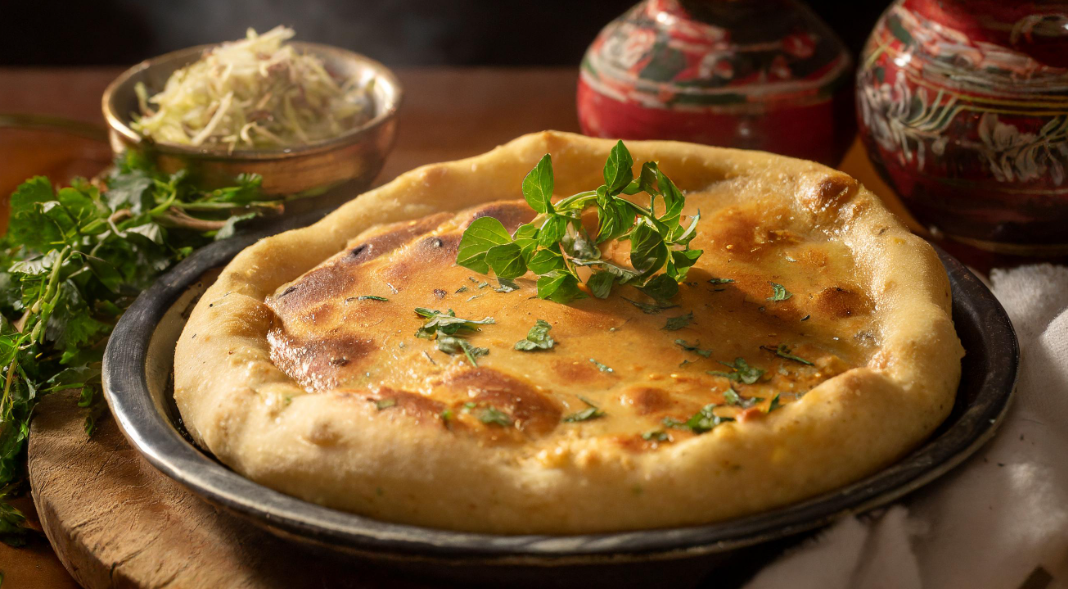
To garnish, sprinkle freshly cut coriander leaves, nigella seeds, or sesame seeds over the cooked kulcha.
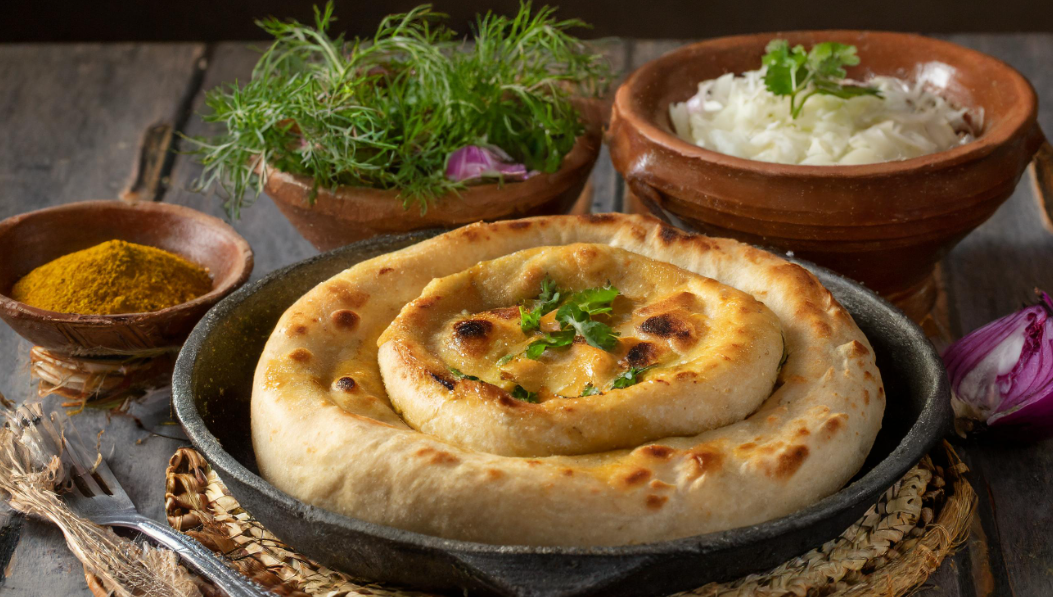
Serve the warm kulchas with your preferred curry, chutney, or yogurt dip. They also go good with pickles and a side salad.
Additional Tips for Perfect Kulchas Recipe:
Rest Period: After kneading, let the dough rest for at least 1-2 hours. This resting period helps to relax the gluten in the dough, making the kulcha recipes ofter and more pliable.
Use thick and creamy yogurt (curd) in the dough. Greek yogurt or hanging curd works well since it adds flavor and moisture to the kulcha recipe.
Adjust Consistency: While kneading the dough, add water as needed to reach the desired consistency. The dough should be pliable, slightly sticky, but not overly wet.
Rolling Technique: When rolling out the dough, use even pressure with the rolling pin to achieve a consistent thickness throughout the kulcha. Avoid over-rolling, since it might lead to severe kulcha recipe.
Stuffing Variations: Get creative with the stuffing by including grated paneer (Indian cottage cheese), finely chopped veggies, or minced meat. Make sure the filling is well-seasoned for optimal flavor.
Cooking Temperature: Cook the kulchas on a tava or griddle over medium heat. Cooking at too high a temperature might cause charred patches, and cooking at too low a temperature will make the kulcha recipe soggy.
Cooking Technique: To achieve even cooking and a soft texture, cover the kulcha with a lid or a clean kitchen towel while cooking. This helps to trap steam and ensures that the kulcha recipe is cooked evenly from all sides.
Butter Brushing: After removing the cooked kulchas from the tava, brush them with melted butter to add an extra layer of taste and richness. This imparts a delightful perfume and improves the flavor of the kulcha recipe .
Leftover kulchas can be kept in an airtight jar at room temperature for 1-2 days or refrigerated for 3-4 days. To reheat, softly toast the kulchas on a tava or in a toaster until heated through.
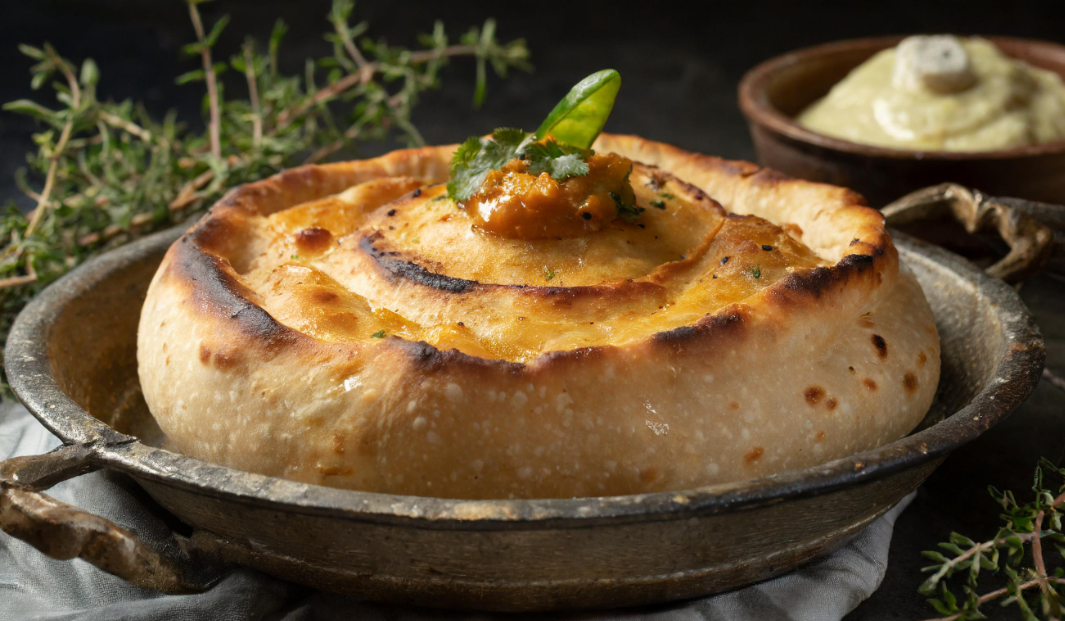
kulcha recipe are best savored when they are soft, warm, and fragrant. For the best culinary experience, serve them immediately with your favorite accompaniments.
Follow these additional methods to master the art of making excellent kulcha recipe every time. Experiment with different contents, toppings, and serving recommendations to come up with a variety of delectable kulcha recipe varieties that will satisfy your taste buds and impress your guests. With each bite, you may enjoy the handcrafted delicacy of soft and fluffy kulcha recipe !
Conclusion:
This authentic kulcha recipe allows you to duplicate the soft and fluffy delicacy of this North Indian flatbread in your own kitchen. Whether served with a hot curry or as a standalone snack, kulcha recipe are guaranteed to be popular with family and friends. Follow the simple steps, try different fillings and toppings, and enjoy the seductive flavor of homemade kulcha recipe . Enjoy the gastronomic trip and the taste of freshly baked bread!
you might also like: Classic Mimosa Recipe: A Refreshing Brunch Cocktail

Pingback: Bruschetta recipe: A Delight for Italian Appetizer - 2024